Thunderbird Email Client Setup
Thunderbird Email Setup
This tutorial will walk you through the configuration of email using Thunderbird. For this tutorial, we are using Thunderbird 45 on Mac. If you are using a different version or operating system, these instructions may differ.
Step 1 : Open Account Settings
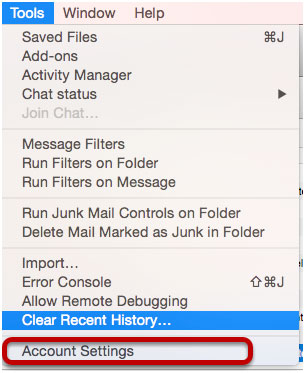
Launch Thunderbird, click on Tools, and select Account Settings.
Step 2: Add Mail Account
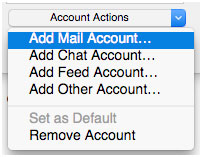
Under Account Actions, click Add Mail Account...
Step 3: Enter Account Information
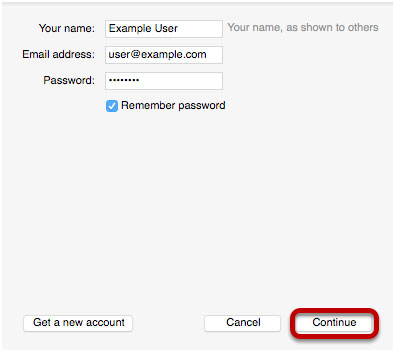
Enter the following information :
Your Name :
This is the name that will appear on all outgoing mail from the account.
Email Address :
Enter your full email address.
Password :
Enter the password for your email address.
Click Continue.
Step 4: Enter Account Information
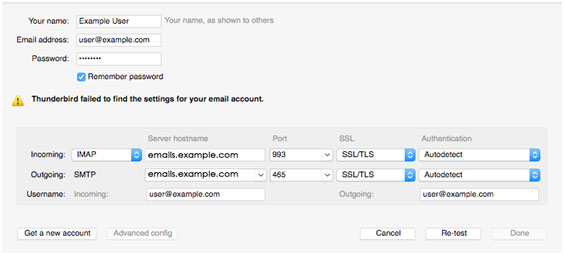
Enter the following information :
Incoming Protocol : IMAP or POP3 as per your preference. We recommend IMAP.
Server Hostname: emails.example.com or mail.b.hostedemail.com
Port :
993 (incoming IMAP)
995 (Incoming POP3)
465 (outgoing)
SSL:
SSL / TLS
Authentication :
Auto-detect
Username :
Your full email address
Once you are finished, click Re-Test. Thunderbird will test your account settings and account creation will be complete.
